OpenStack with NetVirt
Table of Contents
Prerequisites: OpenDaylight requires Java 1.8.0 and Open vSwitch >= 2.5.0
Installing OpenDaylight on an existing OpenStack
On the control host, Download the latest OpenDaylight release
Uncompress it as root, and start OpenDaylight (you can start OpenDaylight by running karaf directly, but exiting from the shell will shut it down):
tar xvfz distribution-karaf-0.5.1-Boron-SR1.tar.gz
cd distribution-karaf-0.5.1-Boron-SR1
./bin/start # Start OpenDaylight as a server process
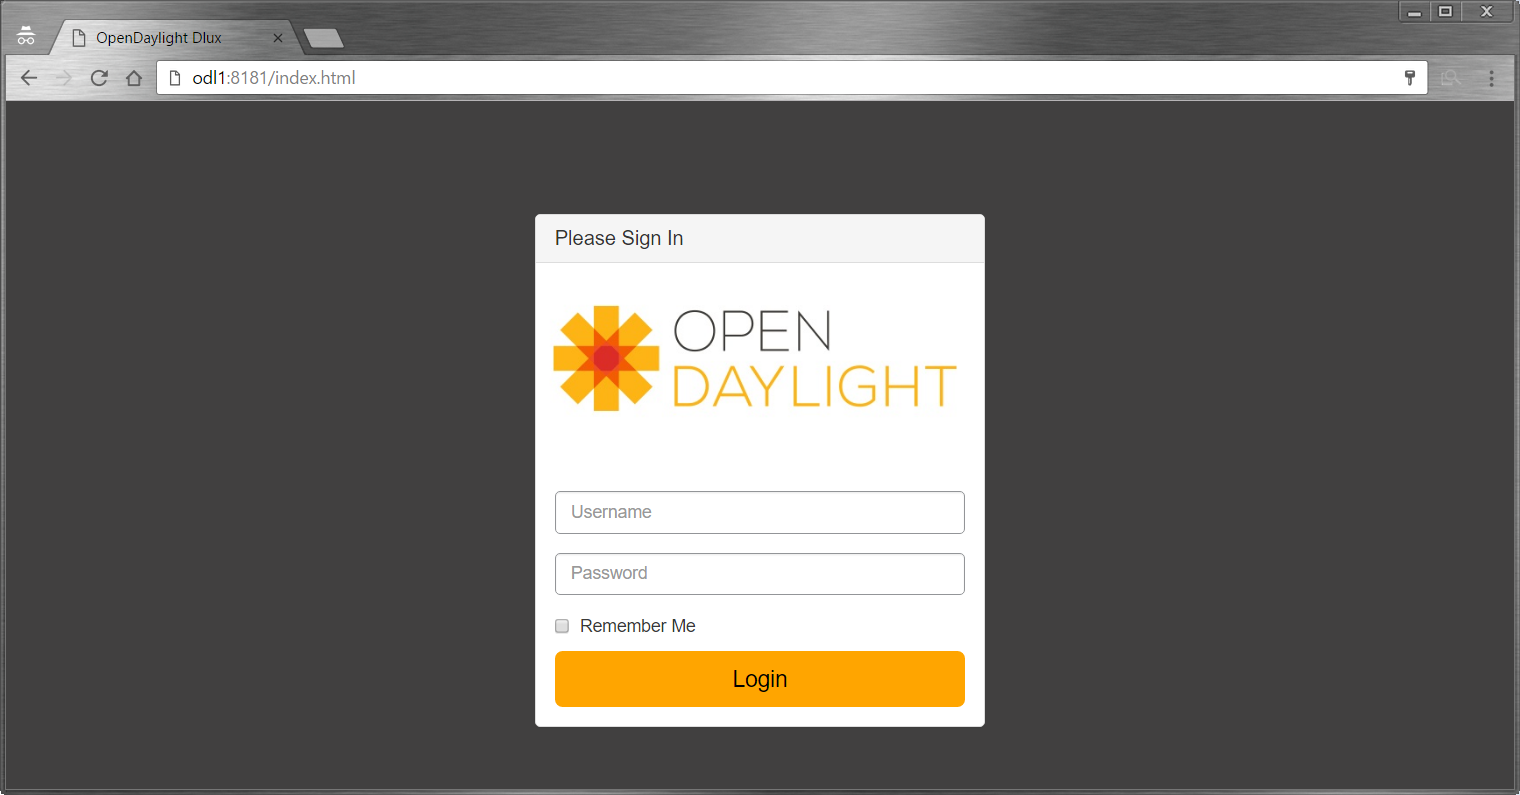
Connect to the Karaf shell, and install the odl-netvirt-openstack bundle, dlux and their dependencies:
./bin/client # Connect to OpenDaylight with the client
opendaylight-user@root> feature:install odl-netvirt-openstack odl-dlux-core odl-mdsal-apidocs
If everything is installed correctly, you should now be able to log in to the dlux interface on http://CONTROL_HOST:8181/index.html - the default username and password is “admin/admin” (see screenshot below)
Optional - Advanced OpenDaylight Installation - Configurations and Clustering
ACL Implementation - Security Groups - Stateful:
Default implementation used is stateful, requiring OVS compiled with conntrack modules.
This requires using a linux kernel that is >= 4.3
To check if OVS is running with conntrack support:
root@devstack:~/# lsmod | grep conntrack | grep openvswitch
  nf_conntrack          106496  9 xt_CT,openvswitch,nf_nat,nf_nat_ipv4,xt_conntrack,nf_conntrack_netlink,xt_connmark,nf_conntrack_ipv4,nf_conntrack_ipv6
If the conntrack modules are not installed for OVS, either recompile/install an OVS version with conntrack support, or alternatively configure OpenDaylight to use a non-stateful implementation.
OpenvSwitch 2.5 with conntrack support can be acquired from this repository for yum based linux distributions:
yum install -y http://rdoproject.org/repos/openstack-newton/rdo-release-newton.rpm
yum install -y --nogpgcheck openvswitch
To spwan a VM with security groups disabled:
crudini --set /etc/neutron/plugins/dhcp_agent.ini ml2 extension_drivers port_security

openstack port create --network=net1 --disable-port-security port1
openstack server create --flavor m1.tiny --image cirros --port port1 vm1
Running multiple OpenDaylight controllers in a cluster:
For redundancy, it is possible to run OpenDaylight in a 3-node cluster.
More info on Clustering available here.
To configure OpenDaylight in clustered mode, run <ODL_FOLDER>/bin/configure_cluster.sh on each node prior to running OpenDaylight. This script is used to configure cluster parameters on this controller. The user should restart controller to apply changes.
Usage: ./configure_cluster.sh <index> <seed_nodes_list>
- index: Integer within 1..N, where N is the number of seed nodes.
- seed_nodes_list: List of seed nodes, separated by comma or space.
The address at the provided index should belong this controller. When running this script on multiple seed nodes, keep the seed_node_list same, and vary the index from 1 through N.
Optionally, shards can be configured in a more granular way by modifying the file “custom_shard_configs.txt” in the same folder as this tool. Please see that file for more details.
Note
OpenDaylight should be restarted after applying any of the above changes via configuration files.
Ensuring OpenStack network state is clean
When using OpenDaylight as the Neutron back-end, OpenDaylight expects to be the only source of truth for Neutron configurations. Because of this, it is necessary to remove existing OpenStack configurations to give OpenDaylight a clean slate.
Delete instances:
nova list
nova delete <instance names>
Remove links from subnets to routers:
neutron subnet-list
neutron router-list
neutron router-port-list <router name>
neutron router-interface-delete <router name> <subnet ID or name>
Delete subnets, networks, routers:
neutron subnet-delete <subnet name>
neutron net-list
neutron net-delete <net name>
neutron router-delete <router name>
Check that all ports have been cleared - at this point, this should be an empty list:
neutron port-list
Ensure Neutron is stopped
While Neutron is managing the OVS instances on compute and control nodes, OpenDaylight and Neutron can be in conflict. To prevent issues, we turn off Neutron server on the network controller, and Neutron’s Open vSwitch agents on all hosts.
Turn off neutron-server on control node:
systemctl stop neutron-server
systemctl stop neutron-l3-agent
On each node in the cluster, shut down and disable Neutron’s agent services to ensure that they do not restart after a reboot:
systemctl stop neutron-openvswitch-agent
systemctl disable
neutron-openvswitch-agent
systemctl stop neutron-l3-agent
systemctl disable neutron-l3-agent
Configuring Open vSwitch to be managed by OpenDaylight
On each host (both compute and control nodes) we will clear the pre-existing Open vSwitch config and set OpenDaylight to manage the switch:
Stop the Open vSwitch service, and clear existing OVSDB (OpenDaylight expects to manage vSwitches completely):
systemctl stop openvswitch
rm -rf /var/log/openvswitch/*
rm -rf /etc/openvswitch/conf.db
systemctl start openvswitch
At this stage, your Open vSwitch configuration should be empty:
[root@odl-compute2 ~]# ovs-vsctl show
9f3b38cb-eefc-4bc7-828b-084b1f66fbfd
    ovs_version: "2.5.1"
Set OpenDaylight as the manager on all nodes:
ovs-vsctl set-manager tcp:{CONTROL_HOST}:6640
Set the IP to be used for VXLAN connectivity on all nodes. This IP must correspond to an actual linux interface on each machine.
sudo ovs-vsctl set Open_vSwitch . other_config:local_ip=<ip>
You should now see a new section in your Open vSwitch configuration showing that you are connected to the OpenDaylight server via OVSDB, and OpenDaylight will automatically create a br-int bridge that is connected via OpenFlow to the controller:
[root@odl-compute2 ~]# ovs-vsctl show
9f3b38cb-eefc-4bc7-828b-084b1f66fbfd
     Manager "tcp:172.16.21.56:6640"
         is_connected: true
     Bridge br-int
         Controller "tcp:172.16.21.56:6633"
             is_connected: true
         fail_mode: secure
         Port br-int
             Interface br-int
     ovs_version: "2.5.1"

 [root@odl-compute2 ~]# ovs-vsctl get Open_vSwitch . other_config
 {local_ip="10.0.42.161"}
If you do not see the result above (specifically, if you do not see “is_connected: true” in the Manager section or in the Controller section), you may not have a security policies in place to allow Open vSwitch remote administration.
Note
There might be iptables restrictions - if so the relevant ports should be opened (6640, 6653).If SELinux is running on your linux, set to permissive mode on all nodes and ensure it stays that way after boot.setenforce 0 sed -i -e 's/SELINUX=enforcing/SELINUX=permissive/g' /etc/selinux/config
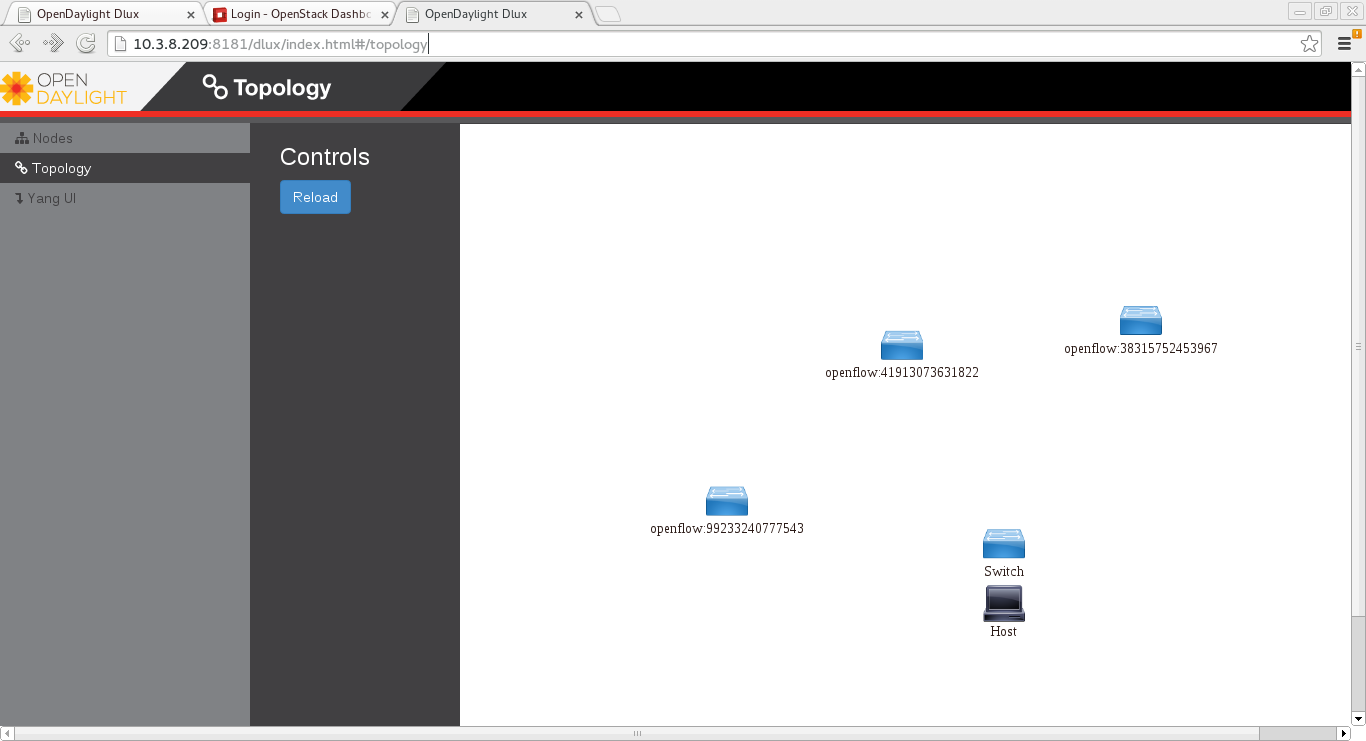
Make sure all nodes, including the control node, are connected to OpenDaylight.
If you reload DLUX, you should now see that all of your Open vSwitch nodes are now connected to OpenDaylight.
If something has gone wrong, check
data/log/karaf.logunder the OpenDaylight distribution directory. If you do not see any interesting log entries, set logging for netvirt to TRACE level inside Karaf and try again:log:set TRACE netvirt
Configuring Neutron to use OpenDaylight
Once you have configured the vSwitches to connect to OpenDaylight, you can now ensure that OpenStack Neutron is using OpenDaylight.
This requires the neutron networking-odl module to be installed.
| pip install networking-odl
First, ensure that port 8080 (which will be used by OpenDaylight to listen
for REST calls) is available. By default, swift-proxy-service listens on the
same port, and you may need to move it (to another port or another host), or
disable that service. It can be moved to a different port (e.g. 8081) by editing
/etc/swift/proxy-server.conf and /etc/cinder/cinder.conf,
modifying iptables appropriately, and restarting swift-proxy-service.
Alternatively, OpenDaylight can be configured to listen on a different port,
by modifying the jetty.port property value in etc/jetty.conf.
<Set name="port">
    <Property name="jetty.port" default="8080" />
</Set>
Configure Neutron to use OpenDaylight’s ML2 driver:
crudini --set /etc/neutron/plugins/ml2/ml2_conf.ini ml2 mechanism_drivers opendaylight
crudini --set /etc/neutron/plugins/ml2/ml2_conf.ini ml2 tenant_network_types vxlan

cat <<EOT>> /etc/neutron/plugins/ml2/ml2_conf.ini
[ml2_odl]
url = http://{CONTROL_HOST}:8080/controller/nb/v2/neutron
password = admin
username = admin
EOT
Configure Neutron to use OpenDaylight’s odl-router service plugin for L3 connectivity:
crudini --set /etc/neutron/plugins/neutron.conf DEFAULT service_plugins odl-router
Configure Neutron DHCP agent to provide metadata services:
crudini --set /etc/neutron/plugins/dhcp_agent.ini DEFAULT force_metadata True
Note
If the OpenStack version being used is Newton, this workaround should be applied,configuring the Neutron DHCP agent to use vsctl as the OVSDB interface:crudini --set /etc/neutron/plugins/dhcp_agent.ini OVS ovsdb_interface vsctl
Reset Neutron’s database
mysql -e "DROP DATABASE IF EXISTS neutron;"
mysql -e "CREATE DATABASE neutron CHARACTER SET utf8;"
/usr/local/bin/neutron-db-manage --config-file /etc/neutron/neutron.conf --config-file /etc/neutron/plugins/ml2/ml2_conf.ini upgrade head
Restart neutron-server:
systemctl start neutron-server
Verifying it works
Verify that OpenDaylight’s ML2 interface is working:
curl -u admin:admin http://{CONTROL_HOST}:8080/controller/nb/v2/neutron/networks

{
   "networks" : [ ]
}
If this does not work or gives an error, check Neutron’s log file in/var/log/neutron/server.log.Error messages here should give some clue as to what the problem is in the connection with OpenDaylight.Create a network, subnet, router, connect ports, and start an instance using the Neutron CLI:
neutron router-create router1
neutron net-create private
neutron subnet-create private --name=private_subnet 10.10.5.0/24
neutron router-interface-add router1 private_subnet
nova boot --flavor <flavor> --image <image id> --nic net-id=<network id> test1
nova boot --flavor <flavor> --image <image id> --nic net-id=<network id> test2
At this point, you have confirmed that OpenDaylight is creating network end-points for instances on your network and managing traffic to them.
nova get-vnc-console <vm> novncAdding an external network for floating IP connectivity
In order to connect to the VM using a floating IP, we need to configure external network connectivity, by creating an external network and subnet. This external network must be linked to a physical port on the machine, which will provide connectivity to an external gateway.
sudo ovs-vsctl set Open_vSwitch . other_config:provider_mappings=physnet1:eth1
neutron net-create public-net -- --router:external --is-default --provider:network_type=flat --provider:physical_network=physnet1
neutron subnet-create --allocation-pool start=10.10.10.2,end=10.10.10.254 --gateway 10.10.10.1 --name public-subnet public-net 10.10.0.0/16 -- --enable_dhcp=False
neutron router-gateway-set router1 public-net

neutron floatingip-create public-net
nova floating-ip-associate test1 <floating_ip>
Installing OpenStack and OpenDaylight using DevStack
The easiest way to load and OpenStack setup using OpenDaylight is by using devstack, which does all the steps mentioned in previous sections.
| git clone https://git.openstack.org/openstack-dev/devstack
The following lines need to be added to your local.conf:
enable_plugin networking-odl http://git.openstack.org/openstack/networking-odl <branch>
ODL_MODE=allinone
Q_ML2_PLUGIN_MECHANISM_DRIVERS=opendaylight,logger
ODL_GATE_SERVICE_PROVIDER=vpnservice
disable_service q-l3
ML2_L3_PLUGIN=odl-router
ODL_PROVIDER_MAPPINGS={PUBLIC_PHYSICAL_NETWORK}:<external linux interface>
More details on using devstack can be found in the following links:
Troubleshooting
VM DHCP Issues
Trigger DHCP requests - access VM console:
View log:
nova console-log <vm>Access using VNC console: nova get-vnc-console <vm> novnc
Trigger DHCP requests:
sudo ifdown eth0 ; sudo ifup eth0udhcpc (v1.20.1) started Sending discover... Sending select for 10.0.123.3... Lease of 10.0.123.3 obtained, lease time 86400 # This only happens when DHCP is properly obtained.
Check if the DHCP requests are reaching the qdhcp agent using the following commands on the OpenStack controller:
sudo ip netns
sudo ip netns exec qdhcp-xxxxx ifconfig # xxxx is the neutron network id
sudo ip netns exec qdhcp-xxxxx tcpdump -nei tapxxxxx # xxxxx is the neutron port id

# Valid request and response:
15:08:41.684932 fa:16:3e:02:14:bb > ff:ff:ff:ff:ff:ff, ethertype IPv4 (0x0800), length 329: 0.0.0.0.68 > 255.255.255.255.67: BOOTP/DHCP, Request from fa:16:3e:02:14:bb, length 287
15:08:41.685152 fa:16:3e:79:07:98 > fa:16:3e:02:14:bb, ethertype IPv4 (0x0800), length 354: 10.0.123.2.67 > 10.0.123.3.68: BOOTP/DHCP, Reply, length 312
If the requests aren’t reaching qdhcp:
Verify VXLAN tunnels exist between compute and control nodes by using
ovs-vsctl show- Run the following commands to debug the OVS processing of the DHCP request packet:
ovs-ofctl -OOpenFlow13 dump-ports-desc br-int# retrieve VMs ofport and MACovs-appctl ofproto/trace br-int in_port=<ofport>,dl_src=<mac>,dl_dst=ff:ff:ff:ff:ff:ff,udp,ip_src=0.0.0.0,ip_dst=255.255.255.255 | grep "Rule\|action"root@devstack:~# ovs-appctl ofproto/trace br-int in_port=1,dl_src=fe:16:3e:33:8b:d8,dl_dst=ff:ff:ff:ff:ff:ff,udp,ip_src=0.0.0.0,ip_dst=255.255.255.255 | grep "Rule\|action" Rule: table=0 cookie=0x8000000 priority=1,in_port=1 OpenFlow actions=write_metadata:0x20000000001/0xffffff0000000001,goto_table:17 Rule: table=17 cookie=0x8000001 priority=5,metadata=0x20000000000/0xffffff0000000000 OpenFlow actions=write_metadata:0xc0000200000222e2/0xfffffffffffffffe,goto_table:19 Rule: table=19 cookie=0x1080000 priority=0 OpenFlow actions=resubmit(,17) Rule: table=17 cookie=0x8040000 priority=6,metadata=0xc000020000000000/0xffffff0000000000 OpenFlow actions=write_metadata:0xe00002138a000000/0xfffffffffffffffe,goto_table:50 Rule: table=50 cookie=0x8050000 priority=0 OpenFlow actions=CONTROLLER:65535,goto_table:51 Rule: table=51 cookie=0x8030000 priority=0 OpenFlow actions=goto_table:52 Rule: table=52 cookie=0x870138a priority=5,metadata=0x138a000001/0xffff000001 OpenFlow actions=write_actions(group:210003) Datapath actions: drop root@devstack:~# ovs-ofctl -OOpenFlow13 dump-groups br-int | grep 'group_id=210003' group_id=210003,type=all
If the requests are reaching qdhcp, but the response isn’t arriving to the VM:
Locate the compute the VM is residing on (can use
nova show <vm>).- If the VM is on the same node as the qdhcp namespace,
ofproto/tracecan be used to track the packet:ovs-appctl ofproto/trace br-int in_port=<dhcp_ofport>,dl_src=<dhcp_port_mac>,dl_dst=<vm_port_mac>,udp,ip_src=<dhcp_port_ip>,ip_dst=<vm_port_ip> | grep "Rule\|action"root@devstack:~# ovs-appctl ofproto/trace br-int in_port=2,dl_src=fa:16:3e:79:07:98,dl_dst=fa:16:3e:02:14:bb,udp,ip_src=10.0.123.2,ip_dst=10.0.123.3 | grep "Rule\|action" Rule: table=0 cookie=0x8000000 priority=4,in_port=2 OpenFlow actions=write_metadata:0x10000000000/0xffffff0000000001,goto_table:17 Rule: table=17 cookie=0x8000001 priority=5,metadata=0x10000000000/0xffffff0000000000 OpenFlow actions=write_metadata:0x60000100000222e0/0xfffffffffffffffe,goto_table:19 Rule: table=19 cookie=0x1080000 priority=0 OpenFlow actions=resubmit(,17) Rule: table=17 cookie=0x8040000 priority=6,metadata=0x6000010000000000/0xffffff0000000000 OpenFlow actions=write_metadata:0x7000011389000000/0xfffffffffffffffe,goto_table:50 Rule: table=50 cookie=0x8051389 priority=20,metadata=0x11389000000/0xfffffffff000000,dl_src=fa:16:3e:79:07:98 OpenFlow actions=goto_table:51 Rule: table=51 cookie=0x8031389 priority=20,metadata=0x1389000000/0xffff000000,dl_dst=fa:16:3e:02:14:bb OpenFlow actions=load:0x300->NXM_NX_REG6[],resubmit(,220) Rule: table=220 cookie=0x8000007 priority=7,reg6=0x300 OpenFlow actions=output:3
If the VM isn’t on the same node as the qdhcp namepsace:
- Check if the packet is arriving via VXLAN by running
tcpdump -nei <vxlan_port> port 4789 - If it is arriving via VXLAN, the packet can be tracked on the compute node rules, using
ofproto/tracein a similiar manner to the previous section. Note that packets arriving from a tunnels have a unique tunnel_id (VNI) that should be used as well in the trace, due to the special processing of packets arriving from a VXLAN tunnel.
- Check if the packet is arriving via VXLAN by running
Floating IP Issues
If you have assigned an external network and associated a floating IP to a VM but there is still no connectivity:
Verify the external gateway IP is reachable through the provided provider network port.
Verify OpenDaylight has successfully resolved the MAC address of the external gateway IP. This can be verified by searching for the line “Installing ext-net group” in the karaf.log.
Locate the compute the VM is residing on (can use
nova show <vm>).Run a ping to the VM floating IP.
If the ping fails, execute a flow dump of br-int, and search for the flows that are relevant to the VM’s floating IP address:
ovs-ofctl -OOpenFlow13 dump-flows br-int | grep "<floating_ip>"- Are there packets on the incoming flow (matching dst_ip=<floating_ip>)?If not this probably means the provider network has not been set up properly, verify provider_mappings configuration and the configured external network physical_network value match. Also verify that the Flat/VLAN network configured is actually reachable via the configured port.
- Are there packets on the outgoing flow (matching src_ip=<floating_ip>)?If not, this probably means that OpenDaylight is failing to resolve the MAC of the provided external gateway, required for forwarding packets to the external network.
- Are there packets being sent on the external network port?This can be checked using
tcpdump <port>or by viewing the appropriate OpenFlow rules. The mapping between the OpenFlow port number and the linux interface can be acquired usingovs-ofctl dump-ports-desc br-intovs-ofctl -OOpenFlow13 dump-flows br-int | grep "<floating_ip>" cookie=0x8000003, duration=436.710s, table=21, n_packets=190, n_bytes=22602, priority=42,ip,metadata=0x222e2/0xfffffffe,nw_dst=10.64.98.17 actions=goto_table:25 cookie=0x8000004, duration=436.739s, table=25, n_packets=190, n_bytes=22602, priority=10,ip,nw_dst=10.64.98.17 actions=set_field:10.0.123.3->ip_dst,write_metadata:0x222e0/0xfffffffe,goto_table:27 cookie=0x8000004, duration=436.730s, table=26, n_packets=120, n_bytes=15960, priority=10,ip,metadata=0x222e0/0xfffffffe,nw_src=10.0.123.3 actions=set_field:10.64.98.17->ip_src,write_metadata:0x222e2/0xfffffffe,goto_table:28 cookie=0x8000004, duration=436.728s, table=28, n_packets=120, n_bytes=15960, priority=10,ip,metadata=0x222e2/0xfffffffe,nw_src=10.64.98.17 actions=set_field:fa:16:3e:ec:a8:84->eth_src,group:200000